
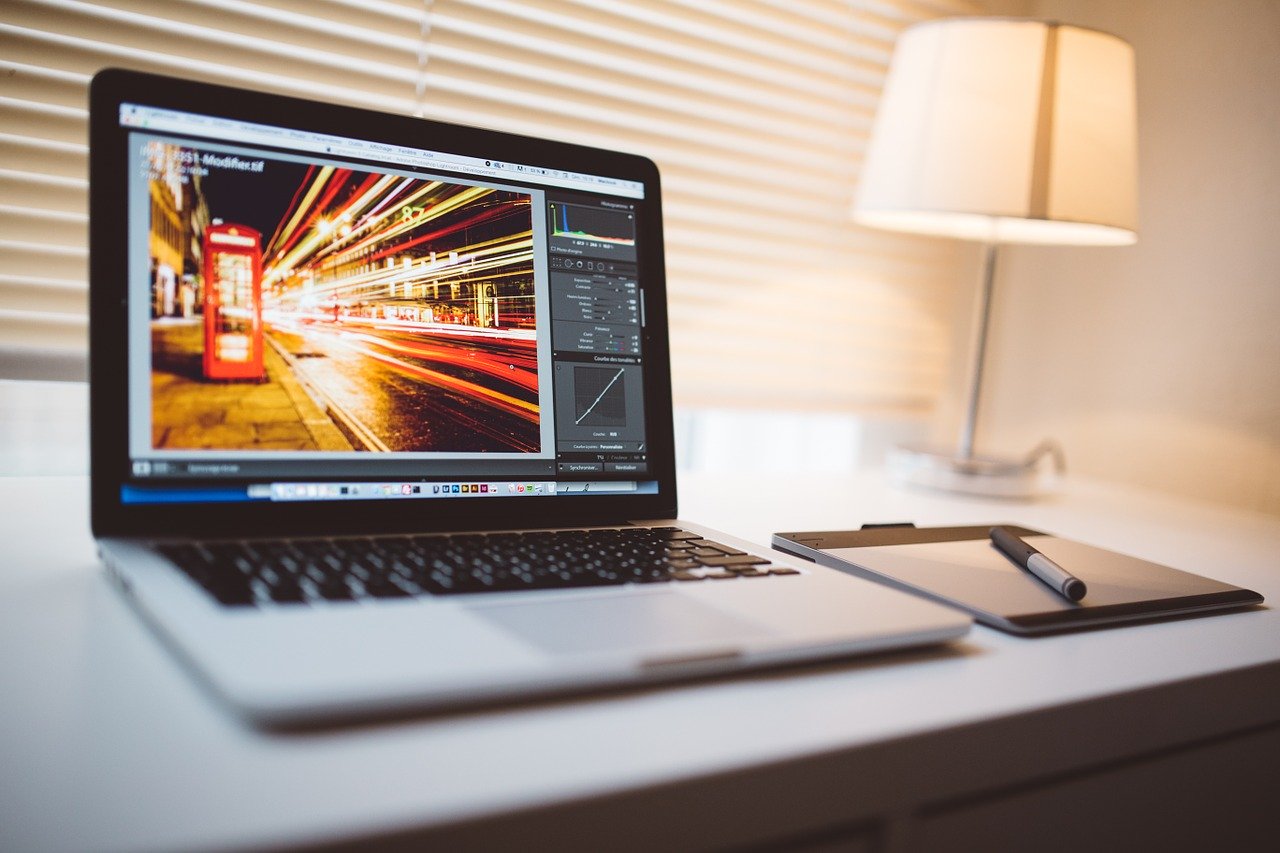
I have been using lightroom for two or three years now, and it is a very powerful program if you are a wedding photographer and have a lot of photos to edit and evaluate. Not only is it useful to organize your photos, but also to edit them. It is valuable when used in the way we understand it: With RAW images, it stores all the data that was taken when the picture was taken to edit RAW images.
That’s not to say it’s not great for .jpg editing, but you’ll only see lightroom’s true power when you start editing your RAW files. If you want to get more information about the best lightroom tips you’ll see this year, then keep on reading. Here are the tips I’ve collected to help me get started with lightroom.
Learn to Use Brightness Instead of Exposure
I’m not saying it makes the glow about the vulnerability of time explode. However, there are cases where you’ll have more control when you use the light than when you use the vulnerability. The difference between exposure and brightness is to change the selection of the image highlight where exposure has priority. Let’s say you’re shooting everything, and an image is a little underexposed, but the sky. And then the lights will definitely turn off with the exposure slider when the exposure is increased, and this is because when you use the weakness slider, the light area rises above the rest of the image.
Learn to Control the Use of Clarity Slider
The sharpness slider can bring out details in an image and remove the camera’s underlying blur. Exactly what the sharpness slider does is increase the comparison and appear in the center of the selection. I set mine to +30 for the beginning and evaluate it from this point.
There are cases where you don’t need to push the slider to increase the clarity, as this could be counterproductive. If you are editing a portrait, you don’t need to move the cursor up. As we all know, each individual has pores, and these pores are positioned randomly in the up-center selection that the cursor changes.
Learn to Use the Adjustment Brush
Use the adjustment brush to soften the skin. This is a feature of Lightroom that I think is much better than anything else I can get with Photoshop, and it’s also much faster. This will definitely change the preferences of this brush, reduce sharpness, and decrease clarity. I paint on the subject’s face, careful not to paint on the hair, lips, eyebrows, or eyes.
Learn to Use the Post-Harvest Vignette
In my opinion, of almost all the methods I have tried, the most common looking vignettes are used. There is something in a vignette that can help you get a complete picture and create it. It requires your eyes and pushes them to the center of the image and prevents them. Since it looks fantastic, this is another quality that I think is much better than anything Photoshop offers, and you can add one.